Tutorial: Building Watch Strap - Part 1
I've always wanted to post a tutorial about building a strap, it will allow me share my knowledge and showcase what is involved on making a watch strap.
This will be a photo intensive post and hence will be divided into several parts.
Let's start!
My first tip is to plan ahead and decides on style, finish and stitching style as these will determine the building steps.
The strap that I want to build will be 26mm wide, using screw in buckle and all around stitch. The strap will have a shiny burnish finish look. The edge will be rounded and to have uncoated burnish look to match
Base material is very important, I choose 2.5mm veg-tanned leather from the belly part of the beast, slightly softer and will have some stretch.
Building the long end:
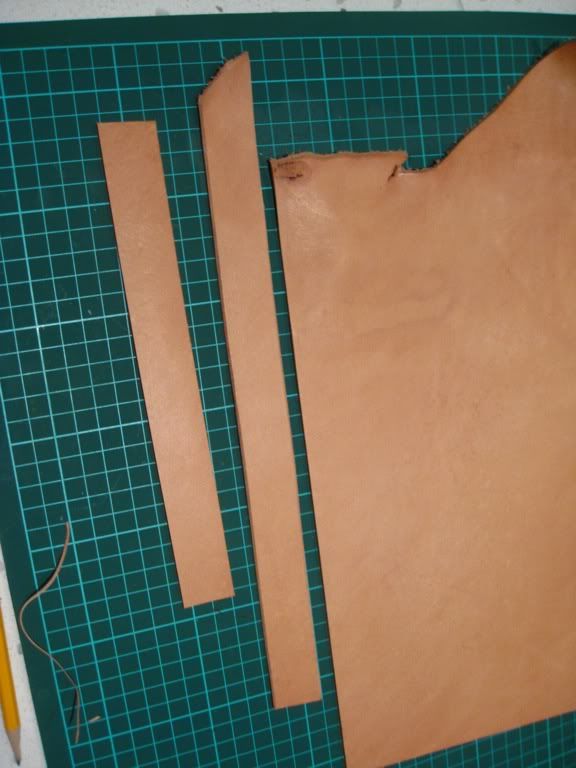
Cut 26mm strip with safety ruler and chosen cutting tools (I use head knife).

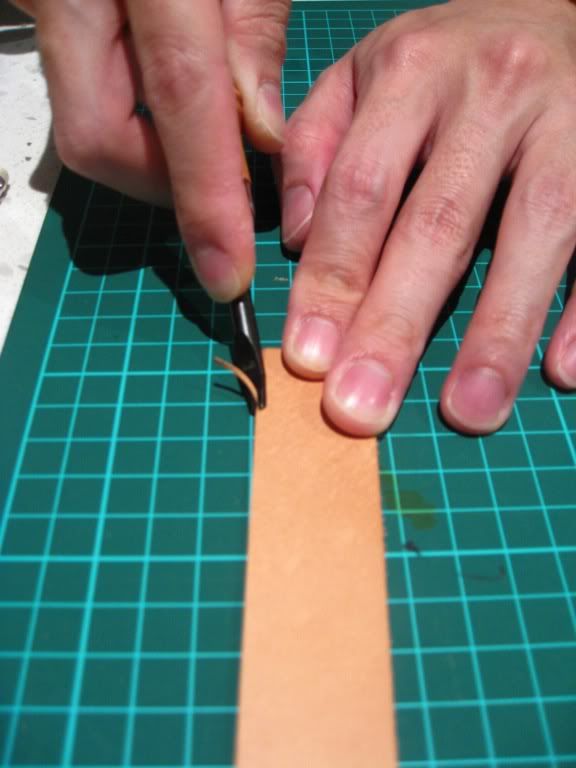
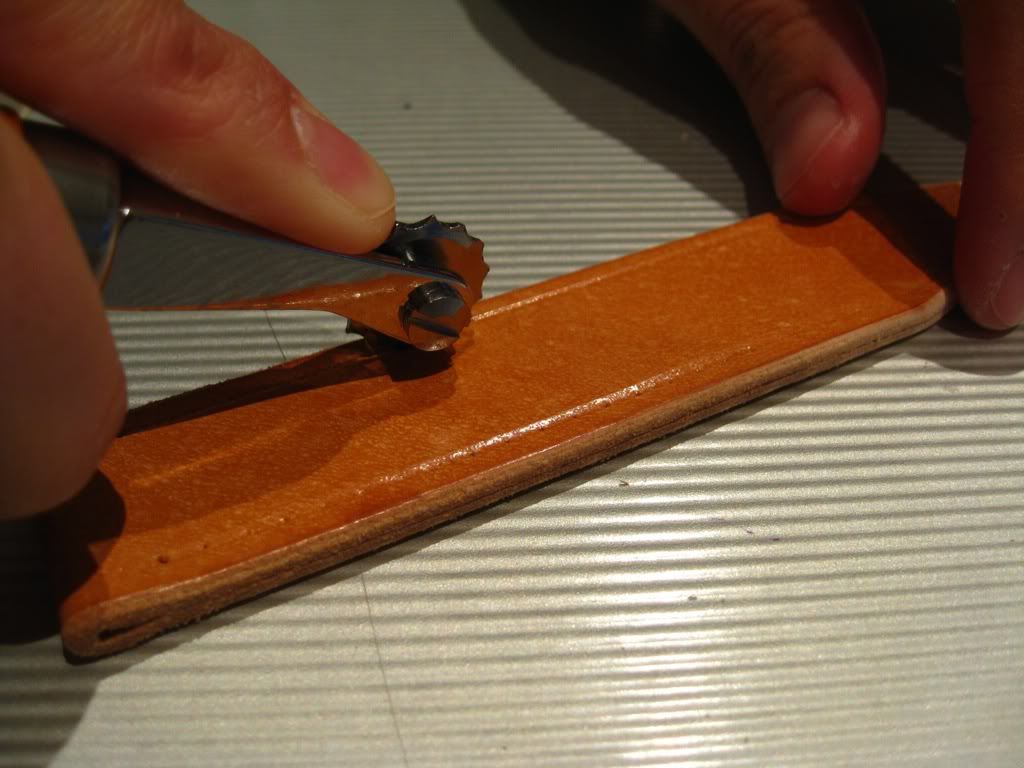
Trim the edge using 'edge beveller'.

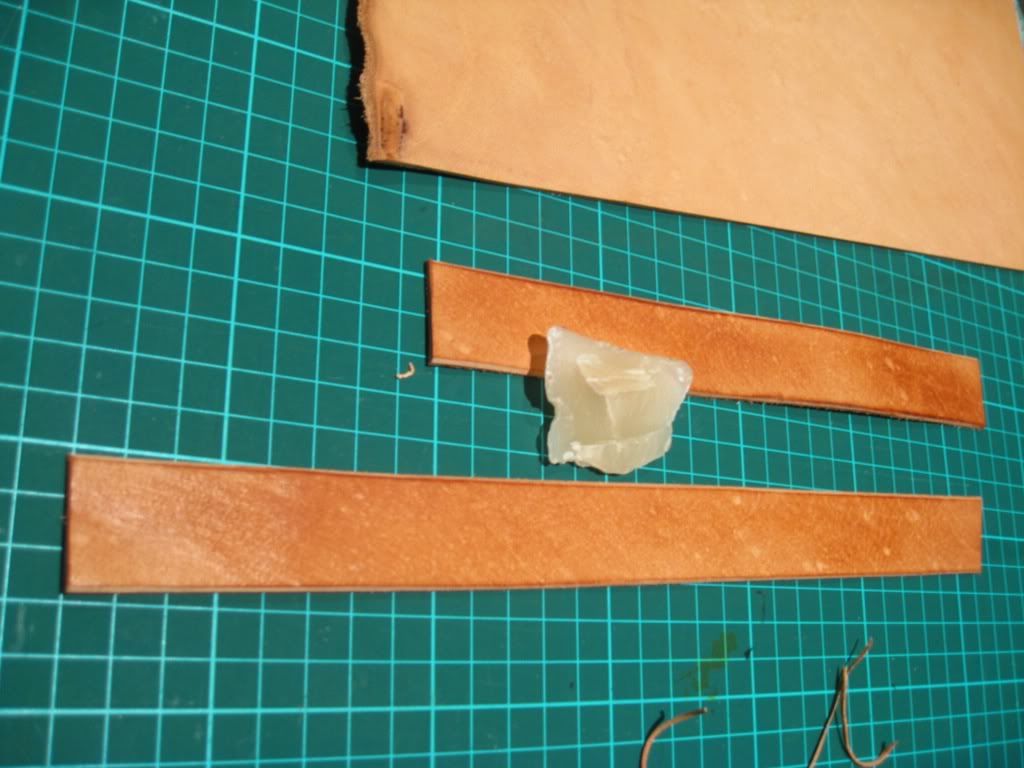
Burnished the leather and apply beeswax.

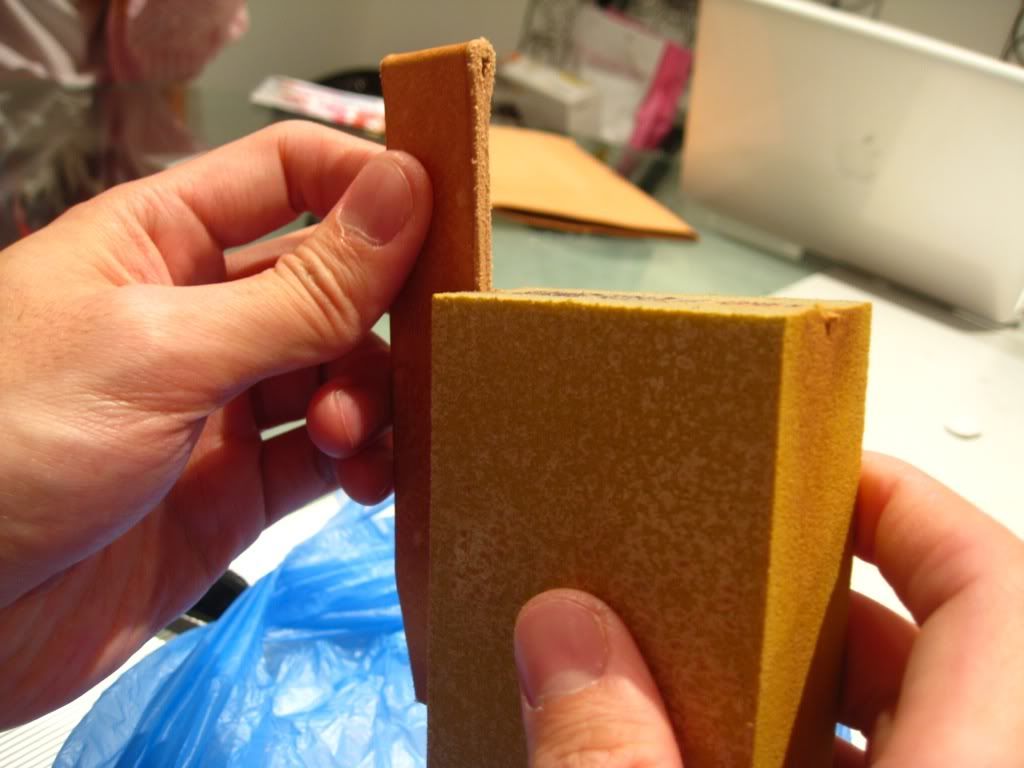
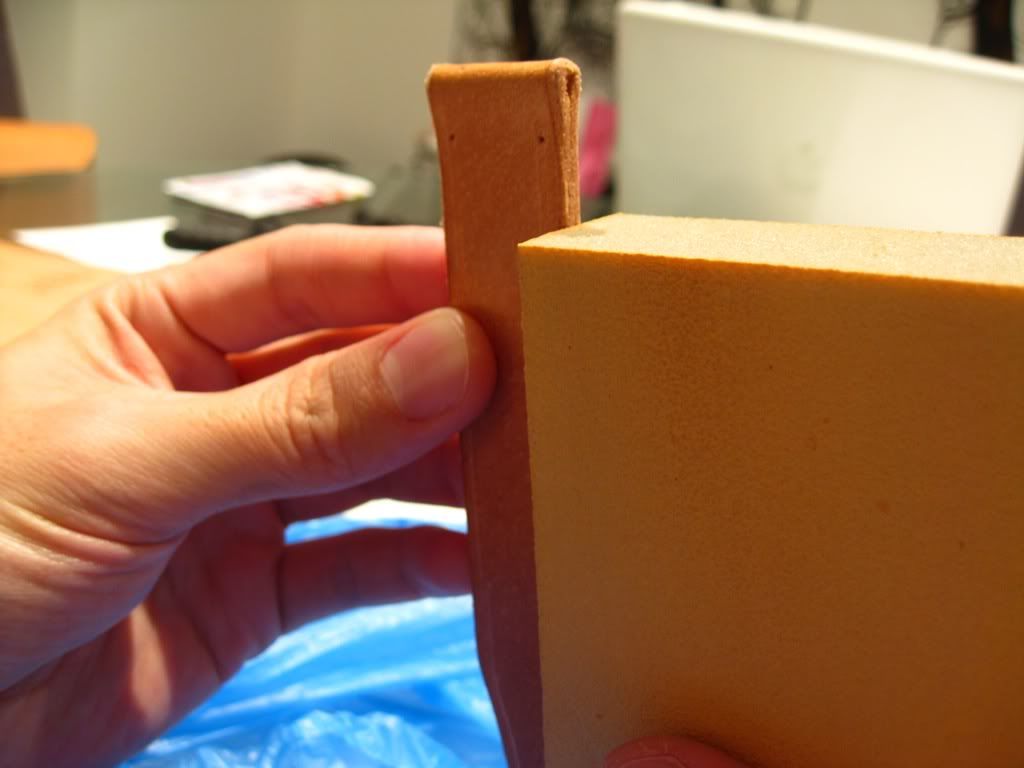
Thin/skive the part where the leather is to be folded to ensure good usability.

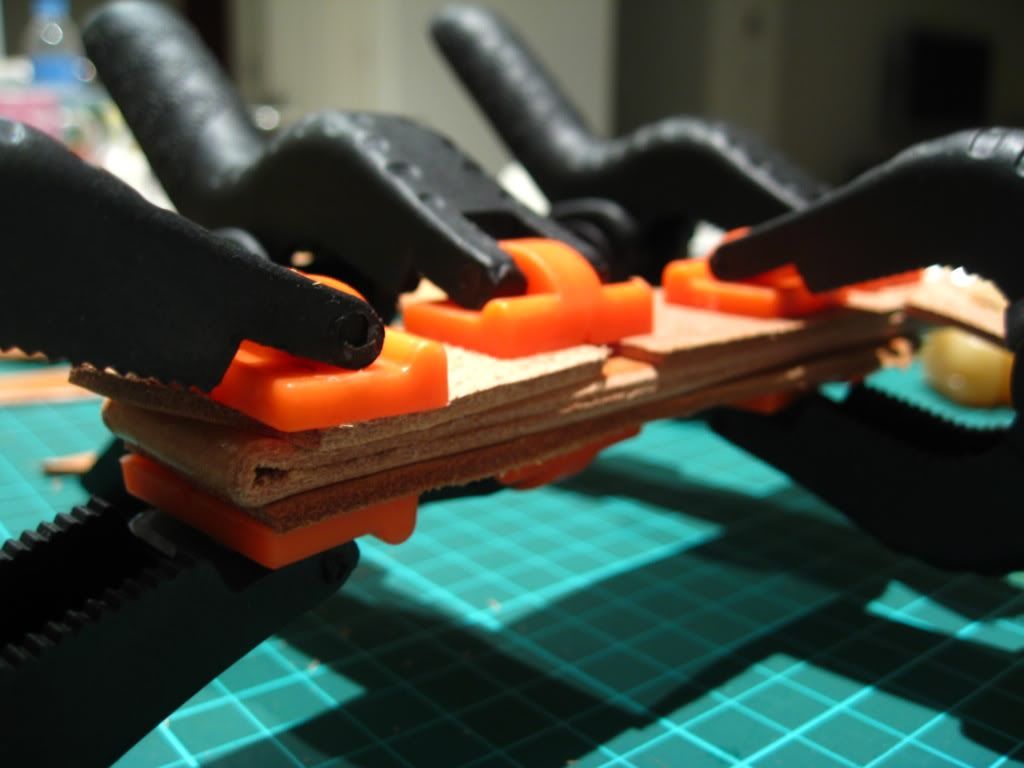
Fold and glue the leather, then secured with clamps. I prefer tacky glue
as it can be readjusted and dries clear.

Normally, I will leave the clamp overnight to allow the glue to dry. During this time
you can work on the short side, but for the purpose of this tutorial I will continue on with the long side.
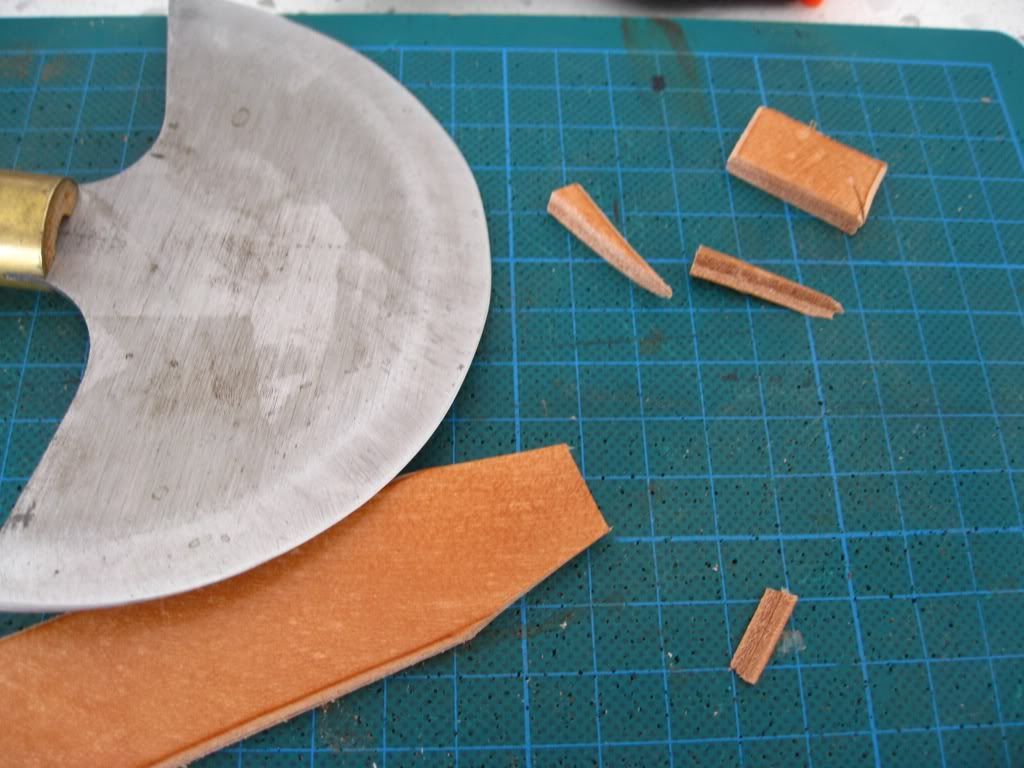
Once dry, decide on the end style, I prefer hand cutting with my head knife.

Bevel the newly cut side.

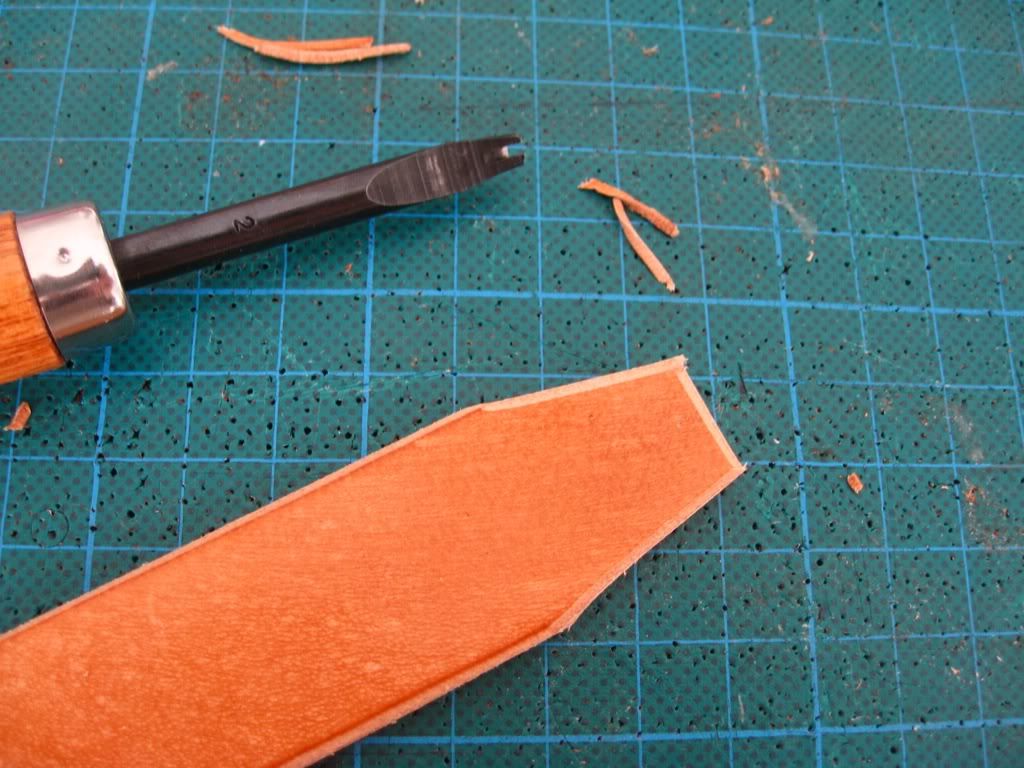
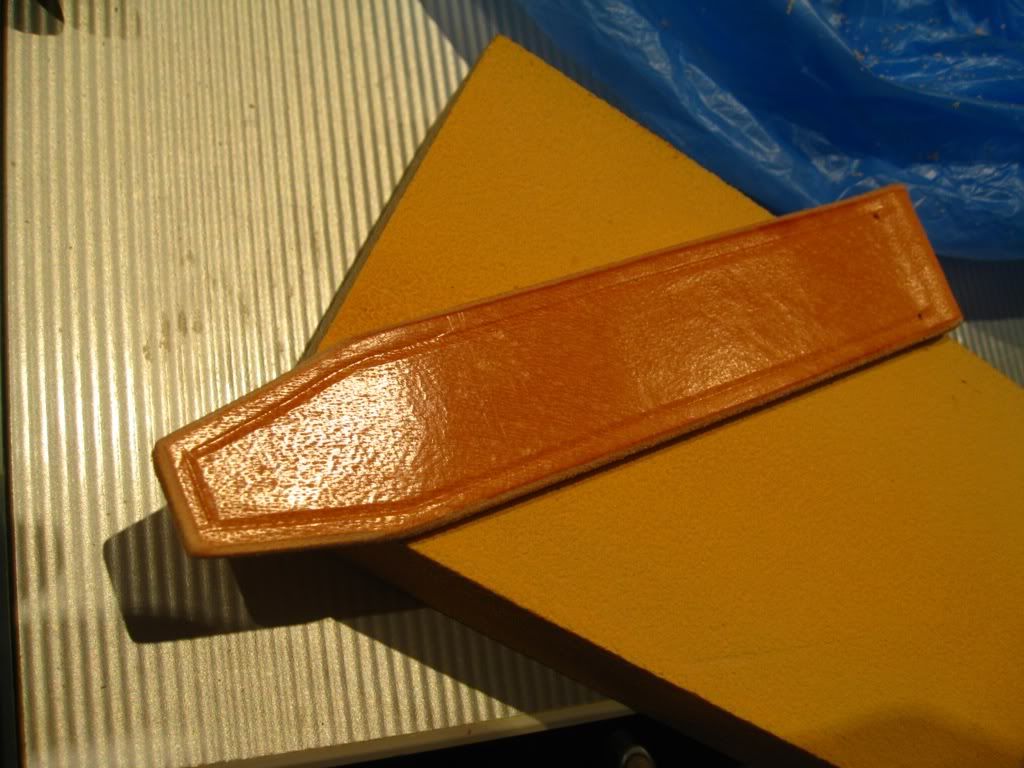
Draw a parallel line using 'edge creaser' as a guide for stitching holes later on.
I prefer this tool over groover to retain the surface tension of the leather.

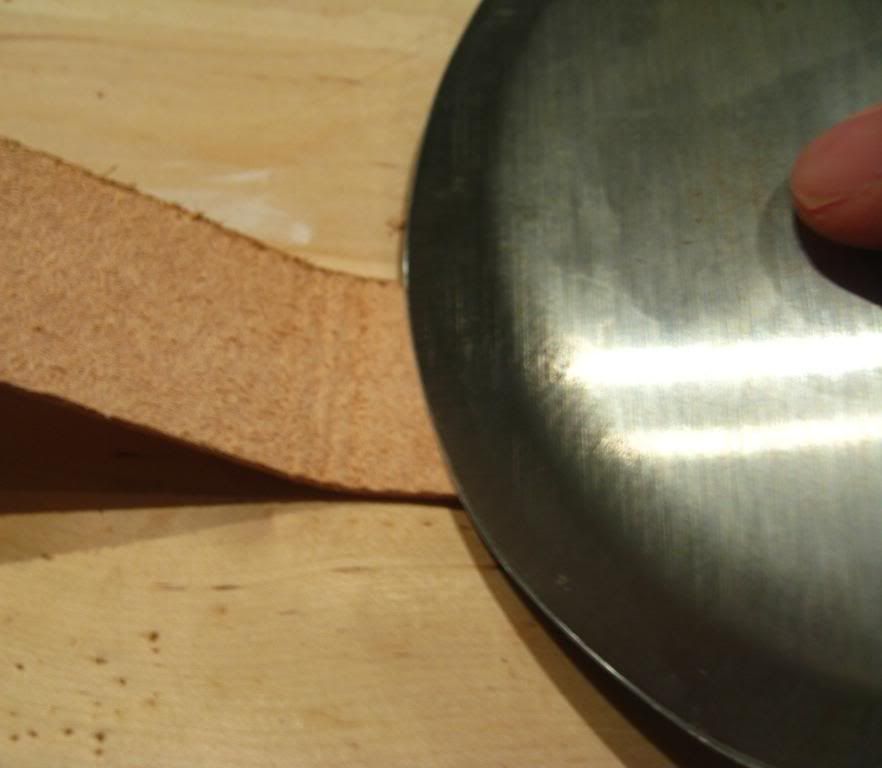
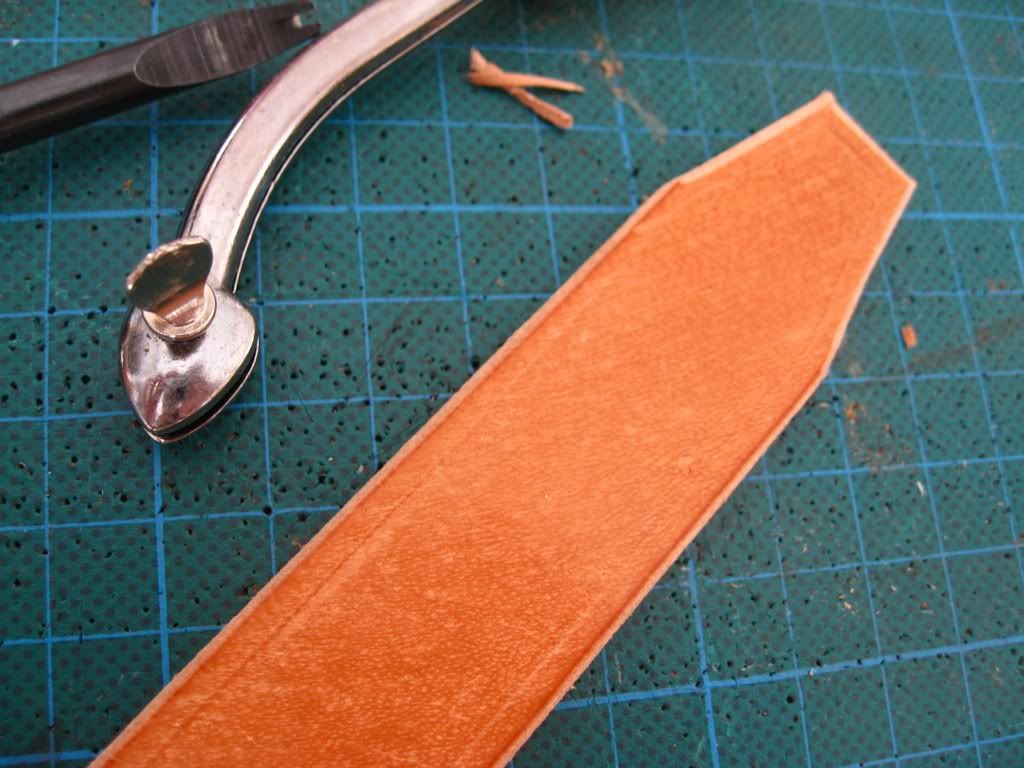
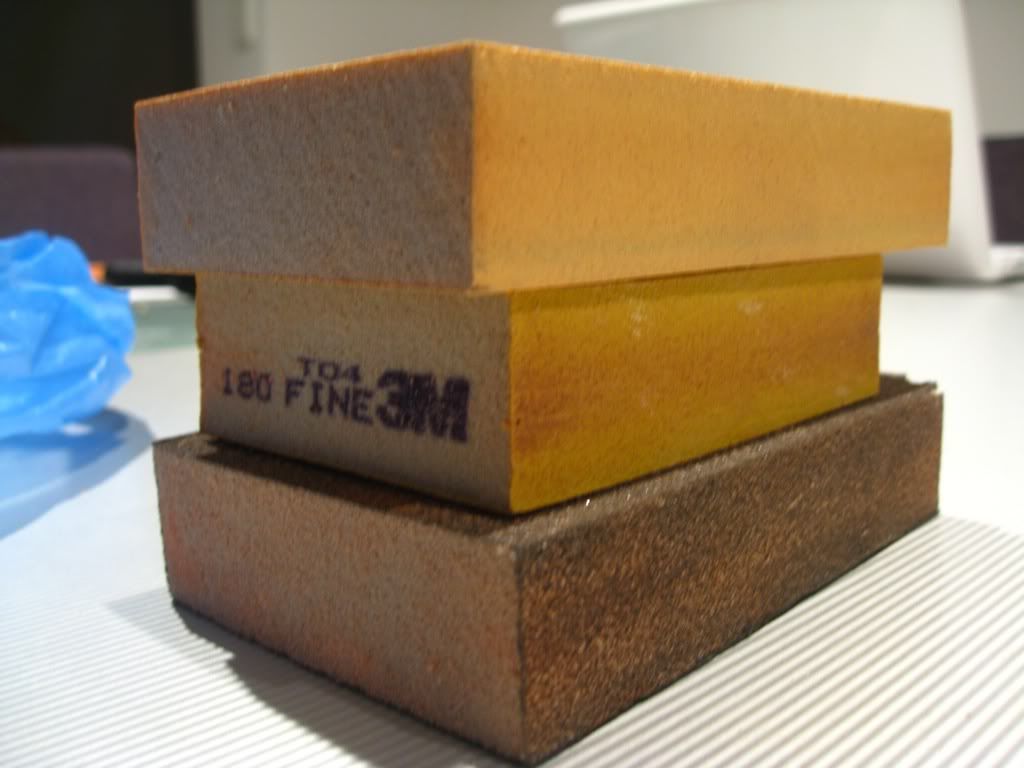
Smooth the edge out using sand block, I use 4 different grade of coarseness (one of the block has two sides), sand one way.


Finished strap minus buckle holes.
This will be a photo intensive post and hence will be divided into several parts.
Let's start!
My first tip is to plan ahead and decides on style, finish and stitching style as these will determine the building steps.
The strap that I want to build will be 26mm wide, using screw in buckle and all around stitch. The strap will have a shiny burnish finish look. The edge will be rounded and to have uncoated burnish look to match
Base material is very important, I choose 2.5mm veg-tanned leather from the belly part of the beast, slightly softer and will have some stretch.
Building the long end:
Cut 26mm strip with safety ruler and chosen cutting tools (I use head knife).
Trim the edge using 'edge beveller'.
Burnished the leather and apply beeswax.
Thin/skive the part where the leather is to be folded to ensure good usability.
Fold and glue the leather, then secured with clamps. I prefer tacky glue
as it can be readjusted and dries clear.
Normally, I will leave the clamp overnight to allow the glue to dry. During this time
you can work on the short side, but for the purpose of this tutorial I will continue on with the long side.
Once dry, decide on the end style, I prefer hand cutting with my head knife.
Bevel the newly cut side.
Draw a parallel line using 'edge creaser' as a guide for stitching holes later on.
I prefer this tool over groover to retain the surface tension of the leather.
Smooth the edge out using sand block, I use 4 different grade of coarseness (one of the block has two sides), sand one way.

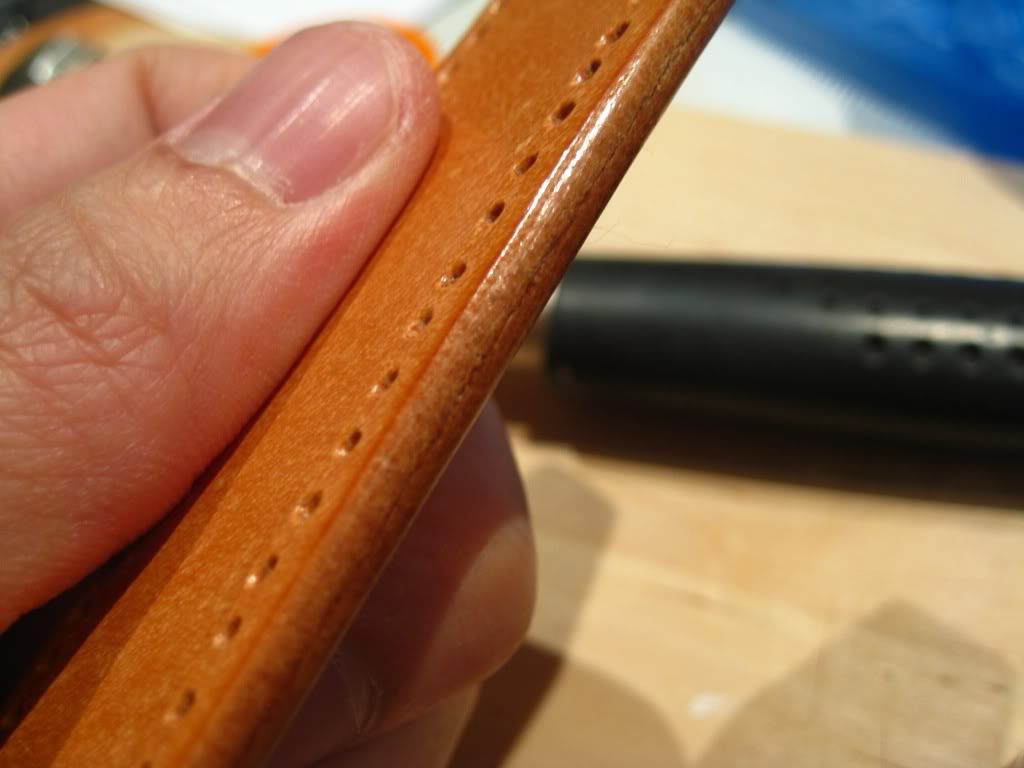
Use 'Stitching Spacer' to mark stitching holes.
I recommend marking the holes using an awl before punching it to ensure good visibility.


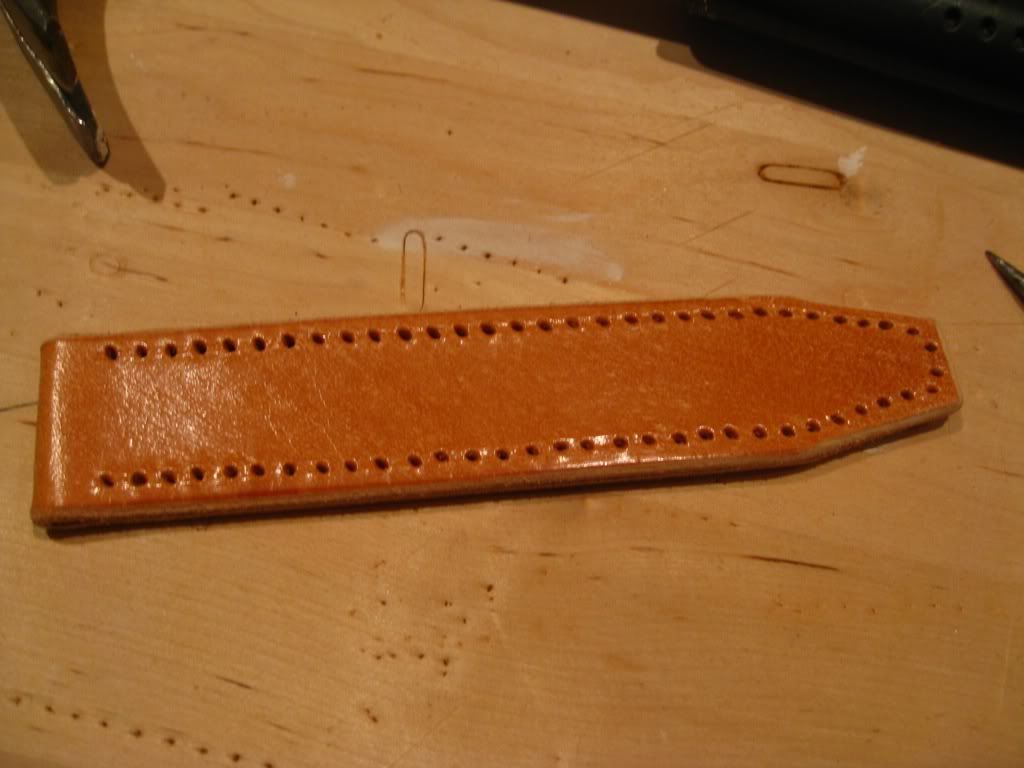
Holes punched (note that I only use an awl to punch the holes, this is to suit the style).
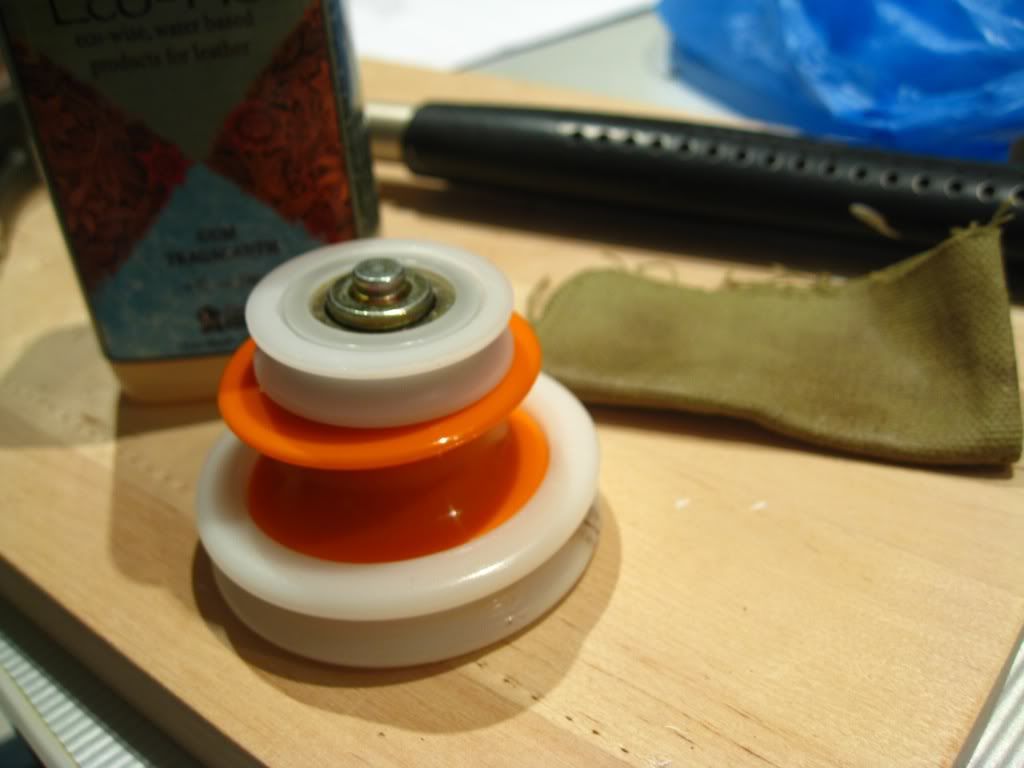
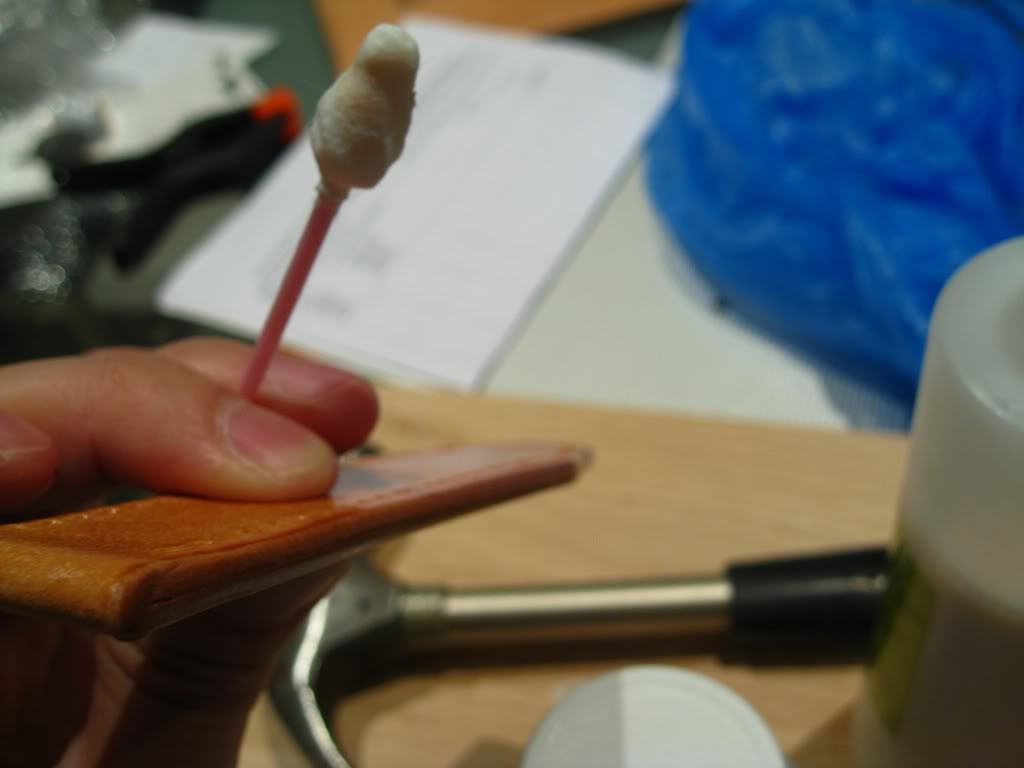
Next step is burnishing the edge, this is the tools I use (Gum Tragacanth, Slicking wheels in various size and canvas cloth).
Apply first coat of Gum, let dry, apply second coat then run the slicker wheel until smooth and has that burnt look,

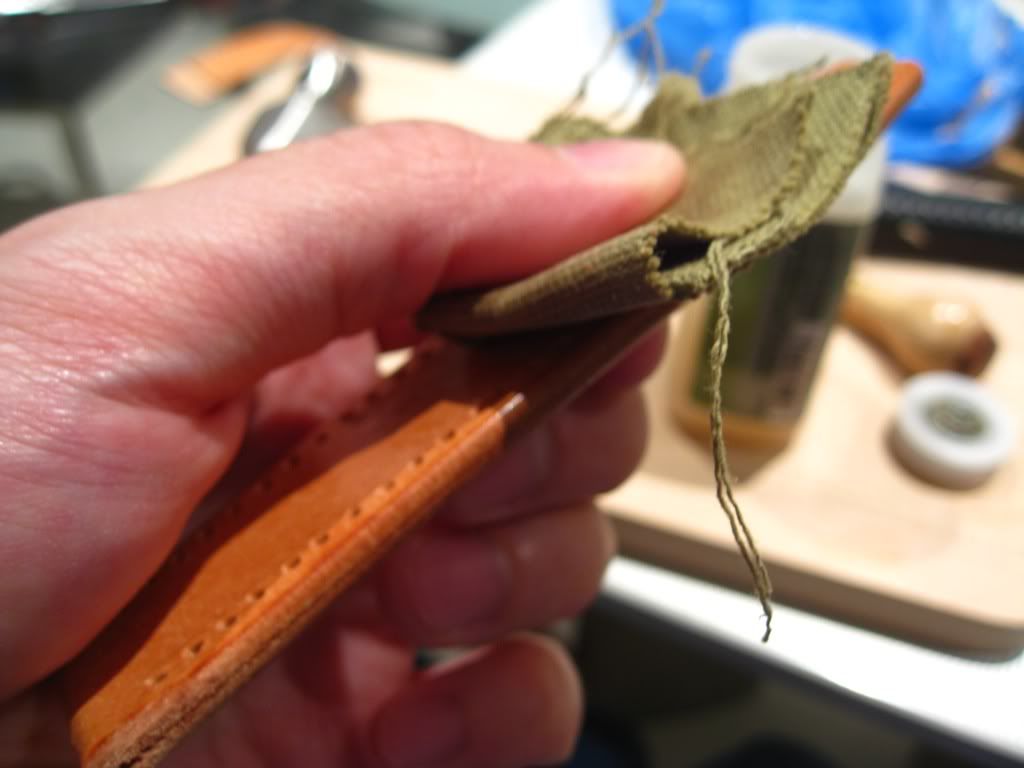
Use the canvas cloth to smooth out the edge further and the part where the wheel doesn't fit.
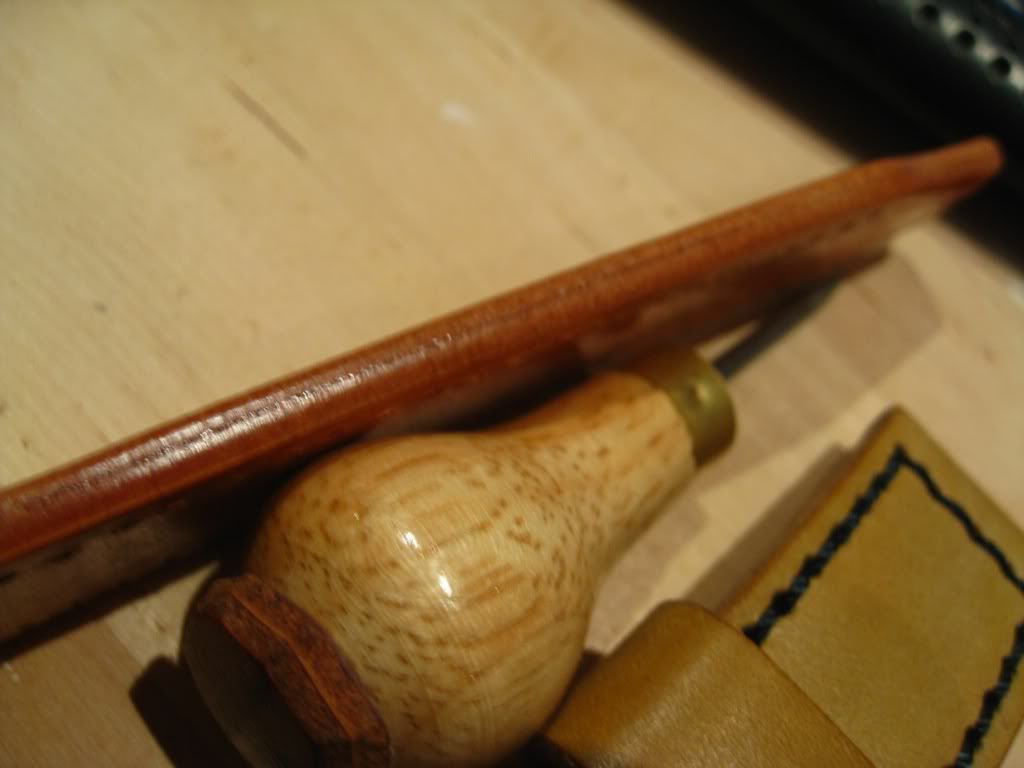
Step back and admire the burnished edge :)
Optional Step: Once the gum fully dried, apply sealer to preserve the edge.
Edge all done.
Next step is stitching, oat colour is used to saddle stitch the strap.
Use stitching pony to assist.
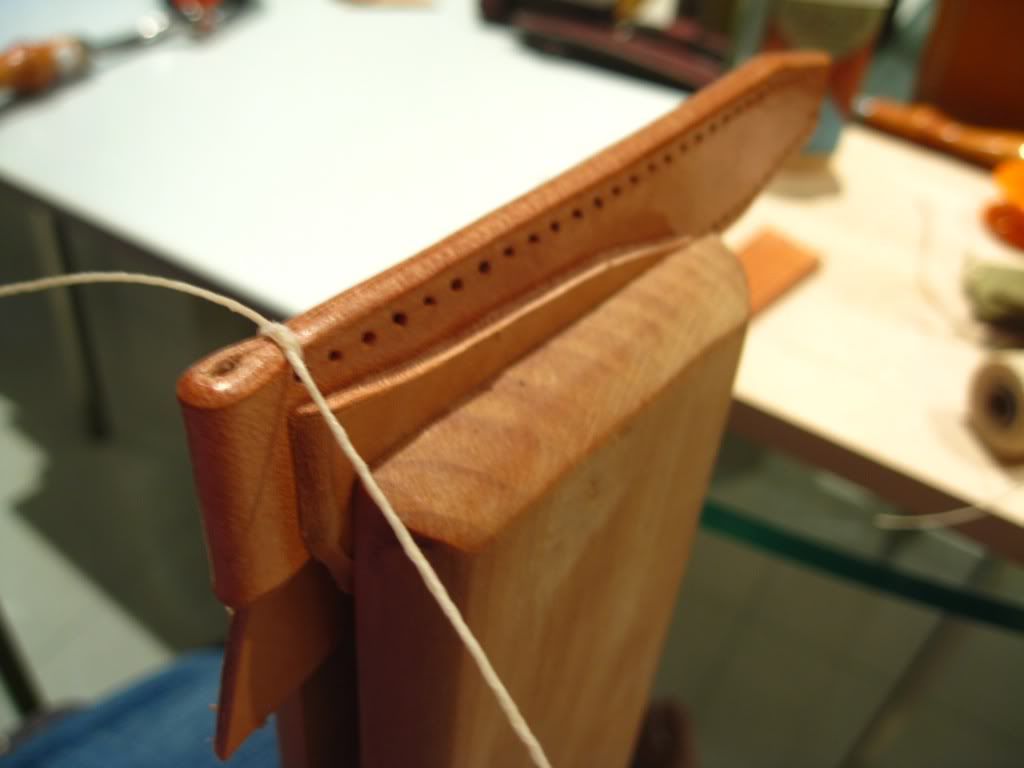


Terminating the stitch (there are many methods of doing this, this is just one way).
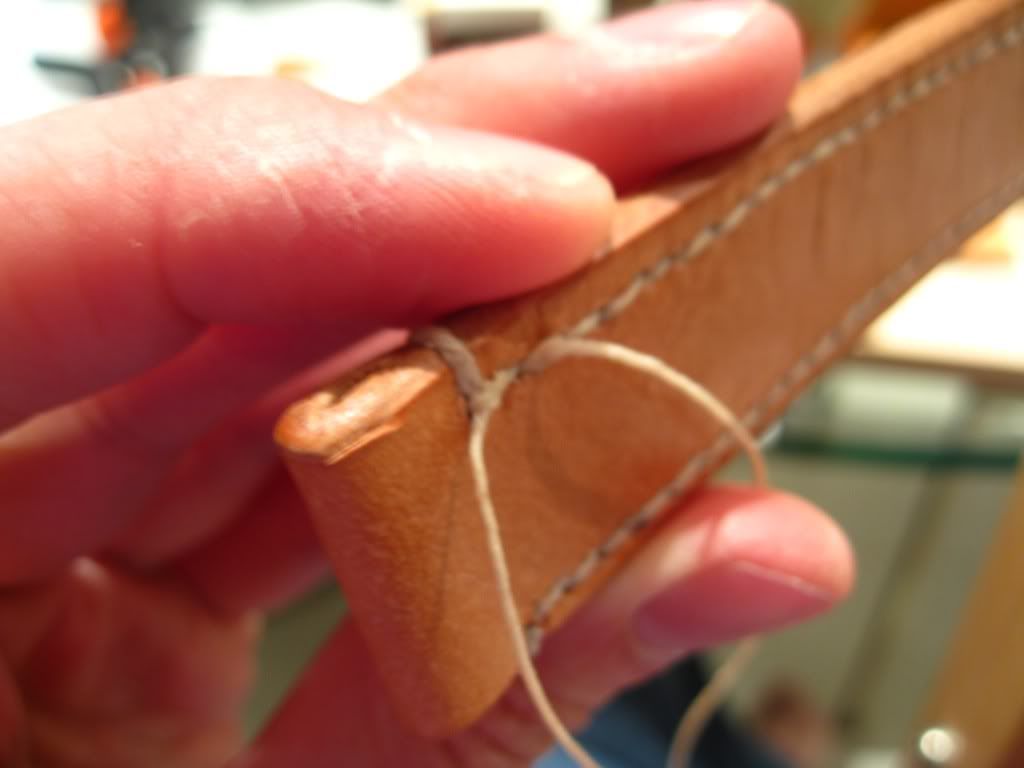
Finished back side.

Finished strap minus buckle holes.
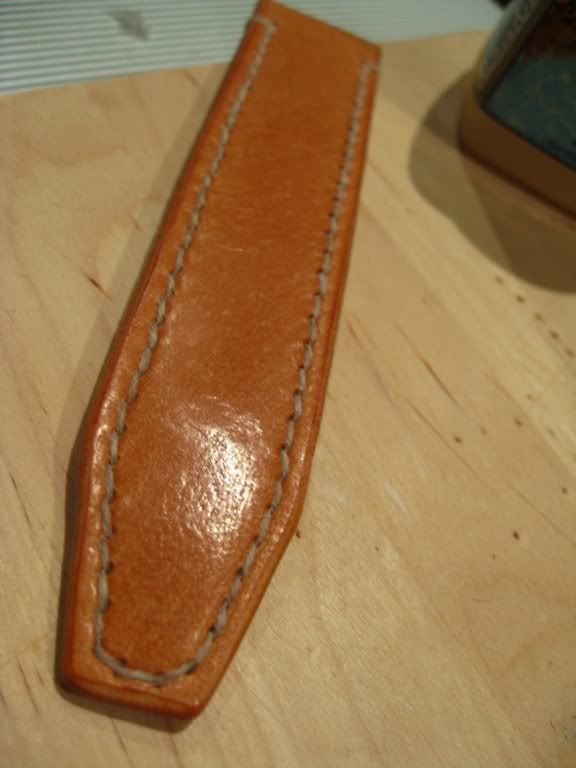
This conclude part 1 of the tutorial. Stay tuned for part 2!
Tutorial: Building Watch Strap - Part 1
![Tutorial: Building Watch Strap - Part 1]() Reviewed by stephania walter
on
May 29, 2011
Rating:
Reviewed by stephania walter
on
May 29, 2011
Rating:

No comments